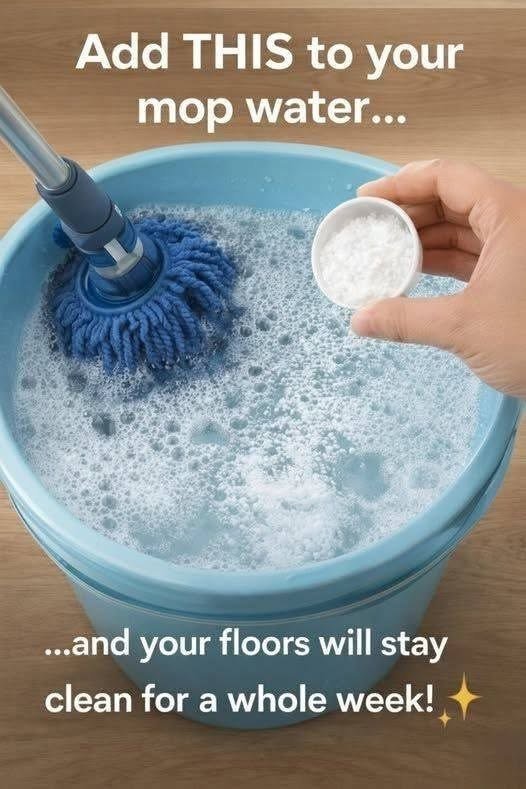
Have you ever spent an entire afternoon cleaning your floors, only to notice streaks, dull patches, or footprints appearing again just a few minutes later? You mop, rinse, and mop again, hoping for that beautiful, spotless shine, but somehow your floors never look quite as clean as you want them to.
I used to think the solution was buying a better floor cleaner or scrubbing harder. Then I discovered a simple cleaning trick that completely changed the way I approach my floors. The secret wasn’t an expensive product or a complicated routine. It was using less cleaner, changing the way I rinsed my mop, and making sure the floor dried properly.
Once you understand why this works, you’ll see why a few small changes can make such a noticeable difference.
The Secret to Cleaner Floors Starts With Less Product
One of the most common floor-cleaning mistakes is using too much detergent. It seems logical that adding more soap will make a floor cleaner, but the opposite can happen.
When cleaning products are overused, they may leave behind a thin residue. That residue can attract dirt, create sticky patches, and make the floor look cloudy or streaky after it dries.
The solution is surprisingly simple: follow the cleaner’s label and use the recommended dilution. In many cases, a small amount of the right product is all you need.
For routine cleaning, warm water and a suitable floor cleaner can work beautifully. Always choose a product designed for your particular flooring, whether it is ceramic tile, vinyl, laminate, sealed hardwood, or stone.
The Floor-Cleaning Trick That Makes a Difference
Instead of repeatedly spreading dirty water across the floor, try this simple method.
Step 1: Remove Dust and Loose Dirt First
Before reaching for your mop, sweep or vacuum the entire area. Pay special attention to corners, beneath furniture, and around doorways.
Dust and small particles can turn into muddy streaks when mixed with water. Removing them first makes the actual mopping much more effective.
Step 2: Use a Clean Mop and the Correct Amount of Cleaner
Fill a bucket according to the cleaning product’s instructions. Avoid guessing the amount of detergent, because too much can leave residue behind.
Make sure your mop is clean before you begin. A dirty mop can spread grime instead of removing it.
Step 3: Work in Small Sections
Rather than soaking the entire floor at once, clean a manageable section at a time. Move the mop in controlled strokes, paying attention to areas with visible marks or heavier dirt.
For larger rooms, work toward the exit so you don’t have to walk across freshly cleaned flooring.
Step 4: Rinse the Mop Frequently
Here is the step that many people overlook: a mop can quickly become loaded with dirt and cleaning solution.
Rinse it regularly, wring it out thoroughly, and replace the cleaning water when it becomes visibly dirty. If your floor cleaner requires rinsing, use clean water as directed by the label.
This prevents dirty water and excess detergent from being redistributed across the floor.
Step 5: Let the Floor Dry Properly
After cleaning, allow the floor to dry before walking on it. Good ventilation can help speed up drying.
If your flooring is compatible with it, a clean, dry microfiber pad can help remove remaining moisture and light streaks. Avoid excessive water on laminate and hardwood, since moisture can damage seams, finishes, or the wood itself.
The result? A cleaner-looking floor without unnecessary scrubbing or piles of cleaning products.
An Extra Trick for Floors That Always Look Streaky
If your floor seems clean while wet but looks cloudy once it dries, don’t immediately add more cleaner.
First, consider what might be causing the problem:
- Too much detergent: Use the recommended amount and rinse if the product instructions call for it.
- Dirty mop water: Change the water more frequently.
- Hard water: Mineral deposits can leave marks on some surfaces.
- Incorrect cleaning products: Some waxes, polishes, or multipurpose cleaners may leave buildup.
- Too much moisture: Certain flooring materials need a barely damp mop rather than a wet one.
If residue has accumulated, use a flooring-compatible method to remove it. Avoid experimenting with strong chemicals, abrasive scrubbers, or homemade acidic mixtures, especially on natural stone.
What About Adding Vinegar to Mop Water?
You may have seen advice recommending vinegar as a universal floor-cleaning solution. Although diluted vinegar can be useful for some household cleaning tasks, it is not appropriate for every floor.
Vinegar is acidic and can damage or dull marble, limestone, travertine, and other acid-sensitive stone. It may also affect certain finishes and sealants.
For the safest results, use a cleaner specifically recommended for your flooring rather than assuming one homemade mixture works everywhere.
Never mix vinegar with bleach or other cleaning products. Dangerous gases or reactions can result from mixing household chemicals.
How to Keep Your Floors Cleaner for Longer
Getting a beautiful finish is only half the battle. Keeping the floor clean between mopping sessions can save time and effort.
Place doormats at entrances. They help capture dirt and grit before it spreads throughout the home.
Clean spills immediately. This prevents sticky spots and stains from becoming harder to remove.
Use microfiber cloths and mop pads. They can capture fine dust and are easy to wash and reuse.
Pay attention to high-traffic areas. Kitchens, hallways, and entryways often need m
For Complete Cooking STEPS Please Head On Over To Next Page Or Open button